Marks that sit on top of vinyl flooring can often be cleaned off, and light scratches can often be improved. Deeper scratches can usually be filled so they are less obvious, but not erased. Which method is safe depends on your floor, so start by working out how deep the damage is and what your manufacturer allows.
Quick Answer
Can you remove scratches from vinyl flooring?
Sometimes. A scuff can often be wiped off. A light scratch can often be improved with a repair product approved for your floor. A scratch that has cut through the clear top wear layer can be filled to look less obvious, but it will not disappear, and a cut or gouge is best fixed by replacing the plank or tile. Avoid wax, abrasive pads, and harsh solvents unless your manufacturer says they are safe.
First, work out whether it is a scuff or a scratch
Many marks on vinyl are scuffs: heel marks, rubber residue or transferred material sitting on the surface. A scratch is a groove in the surface. They are treated differently. Interface’s LVT maintenance guidelines (revision March 2025) use a microfiber cloth and a citrus oil-based cleaner for scuffs, and a dedicated scratch repair kit for scratches.
A common rule of thumb among flooring publishers is that a light scratch does not catch your fingernail, while a deeper one does (Flooring Clarity). It is a guide, not a test standard. Karndean’s commercial maintenance guide also advises finding and fixing the cause of surface scratching, not only treating the mark.
| What you see | Likely cause | What to try first |
|---|---|---|
| A dark or coloured streak that wipes off | Scuff or transferred residue | A microfiber cloth with a cleaner your manufacturer approves, then a clean-water rinse. |
| A dull or whitish line that does not catch a fingernail | Light surface scratch | The manufacturer’s restorer or scratch kit, tested in a hidden spot first. |
| A visible groove that catches a fingernail | Deeper scratch | A colour-matched vinyl repair filler or wax stick. Expect it to look less obvious, not to vanish. |
| A cut, tear, gouge or dent | Damage through the wear layer | Replace the plank or tile. Speak to your supplier or installer. |
| Many scratches in one area | Grit, furniture or chair wheels | Fix the cause first, then repair or replace. |
Before you start: protect the floor and the warranty
- Find the care guide for your exact floor. Manufacturers do not agree on cleaners and polishes (see below), so the guide for your product outranks any general tip.
- Check the warranty. Interface’s guide says powdered cleaners or caustic solutions could damage or stain its LVT and void the warranty. Ask your supplier before using solvents or filler on a floor that is still covered.
- Clean the area first. BuildDirect notes that dirt left in a scratch prevents a proper repair. Remove grit with a brush or a suction-only vacuum, then wipe with a neutral cleaner.
- Test every product somewhere hidden. A spot under a sofa or inside a wardrobe will show whether a product discolours or dulls the surface.
- Ventilate and avoid flames. Mannington’s care guide for its ADURA Pro Rigid floor names lighter fluid, painter’s naphtha and isopropyl alcohol for marks, and tells readers to follow the container precautions because they are flammable.
How to remove scuffs and marks
- Sweep, or vacuum with suction only, to remove grit.
- Rub the mark gently with a clean microfiber cloth dampened with a cleaner your manufacturer approves. Interface names a citrus oil-based cleaner for its LVT, and also lists isopropyl alcohol and WD-40 as solvents for scuffs and greasy marks.
- Rinse with a damp cloth and clean water to remove residue, as Interface advises.
- Dry the area and check it in daylight.
This works on surface marks. It will not remove a groove, so if the mark is still there after cleaning, move on to the scratch methods.
How to fix light surface scratches
The safest route is the repair product your floor’s manufacturer approves. Interface names a Dr. Schutz scratch fix kit for its LVT, and Karndean says the appearance of scratching can be improved with its Remove and Refresh products. These are brand-specific, so the practical lesson is to ask your supplier which product they approve for your floor.
- Clean and dry the scratch.
- Apply the product to a small area exactly as its instructions say.
- Do not buff or polish unless the instructions tell you to. COREtec’s care booklet, for example, says not to buff or wax its floors.
- Check the result in daylight from standing height.
If the scratch is still visible after one careful attempt, stop and reassess. Reaching for stronger products raises the risk of damaging the finish.
How to hide deeper scratches
A deeper scratch has cut into the wear layer, the clear top layer that protects the printed design. The damage is in the floor itself, so repair means filling and blending, not removing. Flooring Clarity says deep gouges may remain faintly visible even after filling.
- Clean the groove and let it dry completely.
- Choose a colour-matched vinyl repair filler, putty or wax stick, and check the label says it suits vinyl. Test the colour in a hidden spot first. For wood-look planks with grain variation, Flooring Clarity describes blending sticks for multi-tone floors.
- Press a thin amount into the scratch with a plastic putty knife, scrape the excess level with the surface and let it dry before anyone walks on it. Follow the product’s own drying time.
- Check from standing height in daylight. Too much filler makes the repair more visible, so build up slowly.
When to replace the plank or tile instead
- The floor is cut, torn or gouged through the wear layer.
- A filled scratch still shows in the main view of the room.
- Damage is spread across several areas, which points to a cause that will keep damaging a repair.
For minor cuts and burns, Mannington’s care guide for its ADURA Pro Rigid floor advises limiting traffic over the area, covering it with masking tape and contacting the retailer or customer care. It does not describe plank replacement.
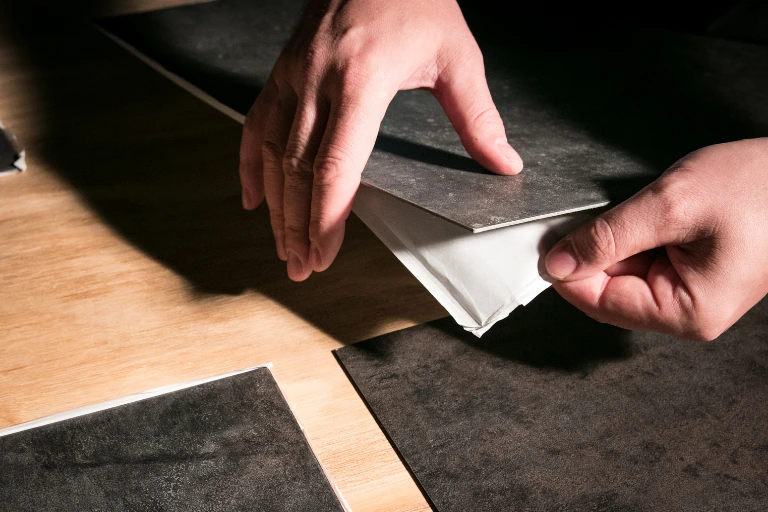
Floating click-lock floors can in principle be released and a damaged plank swapped, but the method depends on the locking system, so follow the installation guide or ask the installer. Flooring Clarity notes that glued-down planks usually need heat and careful lifting, which is a job for an installer. Keep spare planks from the original order, because a plank from a later order may not match exactly.
What not to use on scratched vinyl
Blog advice on this topic is often confident and often wrong for a particular floor. These are the points where manufacturer guidance and common tips collide.
- Wax and floor polish. Interface says its LVT has a built-in top layer that does not need waxing or polishing, and that wax will damage the surface and leave a cloudy finish. COREtec’s residential care booklet says never to use floor polish or wax. Karndean’s guide says to avoid floor wax. Mannington’s page for its ADURA Pro Rigid floor is different: it says to use polish only if you want a shinier floor. Car wax, suggested by some tutorials including BuildDirect, does not appear in any manufacturer guide we reviewed.
- Abrasives. Interface says never to use powdered cleaners, metal bristle brushes or steel wool on its LVT. Karndean advises avoiding abrasive cleaning products.
- Steam mops. COREtec’s booklet says never to steam clean its floors.
- Stronger solvents. Lacquer thinner is suggested for sheet vinyl by Hunker, but none of the manufacturer guides we reviewed names it. Stay with the solvents your manufacturer lists.
- Kitchen remedies. We found no manufacturer guidance recommending olive oil, baking soda or crayons for scratches. At best they hide a mark.
- Ammonia, bleach and soap. Karndean advises avoiding ammonia, bleach and soap-based detergents. Mannington’s guide for its own floor uses an ammonia-based cleaner and says not to use soap or detergent. Two manufacturers, opposite advice, which is why your own care guide matters.
Does this apply to SPC and other rigid vinyl floors?
The same triage applies. SPC floors are typically rigid-core vinyl floors with a wear layer on top, so the question is still whether the scratch has gone through that layer. The wear layer, finish and approved repair products vary by product, so use the care guide for the exact SPC, LVT or vinyl floor you have. The guides we reviewed cover LVT and rigid-core LVT, not every product in the market.
How to stop vinyl floors getting scratched again
- Protect the floor from furniture. Mannington recommends protectors at least one inch across, made of non-pigmented hard plastic and resting flat, with non-staining felt also acceptable. COREtec says not to use ball-type castors. Karndean’s commercial guide prefers stainless steel glides on stationary chairs because plastic and felt can hold debris, so check any pads regularly for trapped grit.
- Lift, do not drag. Interface advises covering the floor with plywood or hardboard before moving heavy furniture or equipment.
- Stop sand and grit at the door. Sand and dust are part of life in the UAE, and grit on the floor acts like sandpaper under shoes. Interface suggests walk-off mats 8 to 10 feet from exterior entrances, and daily sweeping or suction-only vacuuming.
- Choose the right mat. Interface warns that long-term contact with rubber can damage its LVT, and COREtec warns that rubber or latex backing can cause discolouration. Look for mats marked non-staining.
- Use soft wheels on office chairs. Interface asks for soft wheels on office chairs.
- Keep pet claws trimmed. This is our recommendation, not a manufacturer requirement.
Choosing a more scratch-resistant floor next time
No vinyl floor is scratch-proof. Before you buy, ask for the data sheet and care guide for the exact product, and compare the wear layer thickness, the residential or commercial rating and the finish. Our LVT flooring guide for the UAE explains how the wear layer affects durability, and our vinyl, LVT and SPC flooring pages show the ranges we supply.
Frequently asked questions
Can you sand scratches out of a vinyl floor?
No manufacturer guide we reviewed recommends it. Interface and Karndean both warn against abrasive tools and cleaners, so sanding is a risk we would avoid.
Will a DIY repair affect my warranty?
It can. Interface says that some products could void its warranty. Read your warranty and ask your supplier before you begin.
Does WD-40 or baking soda remove scratches?
Not scratches. Interface lists WD-40 among solvents for scuffs, not for grooves. We found no manufacturer guidance for baking soda or kitchen oils.
Is it worth repairing, or should I replace the plank?
Repair a light scratch. Replace the plank or tile when the surface is cut, torn or gouged, or when a filled scratch is still obvious in a main view.
Related reading
Thinking about wear layers before you replace a damaged floor? This guide explains what to look for in LVT.
LVT flooring in the UAE: everything you need to know before you buy
Floor damaged beyond a DIY fix, or planning a replacement?
Contact SPC Source to talk through your options. We offer expert consultation and free site visits, and pricing is confirmed after the site visit. If SPC Source installed your floor, get in touch before you attempt a repair so we can advise on warranty and after-sales support.